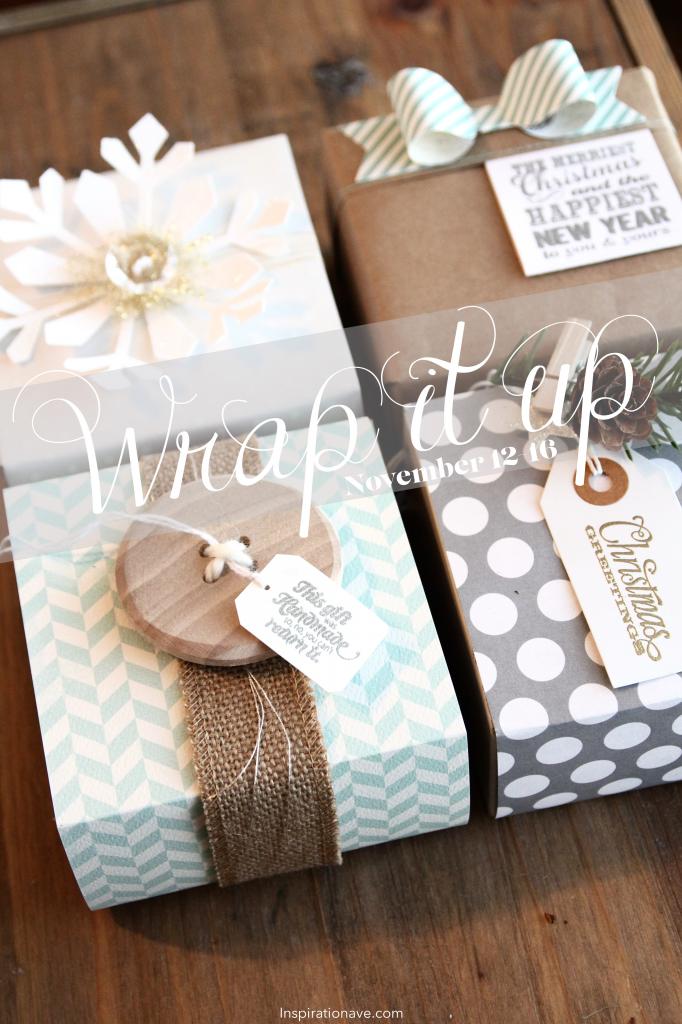
WRAP IT UP IN STYLE

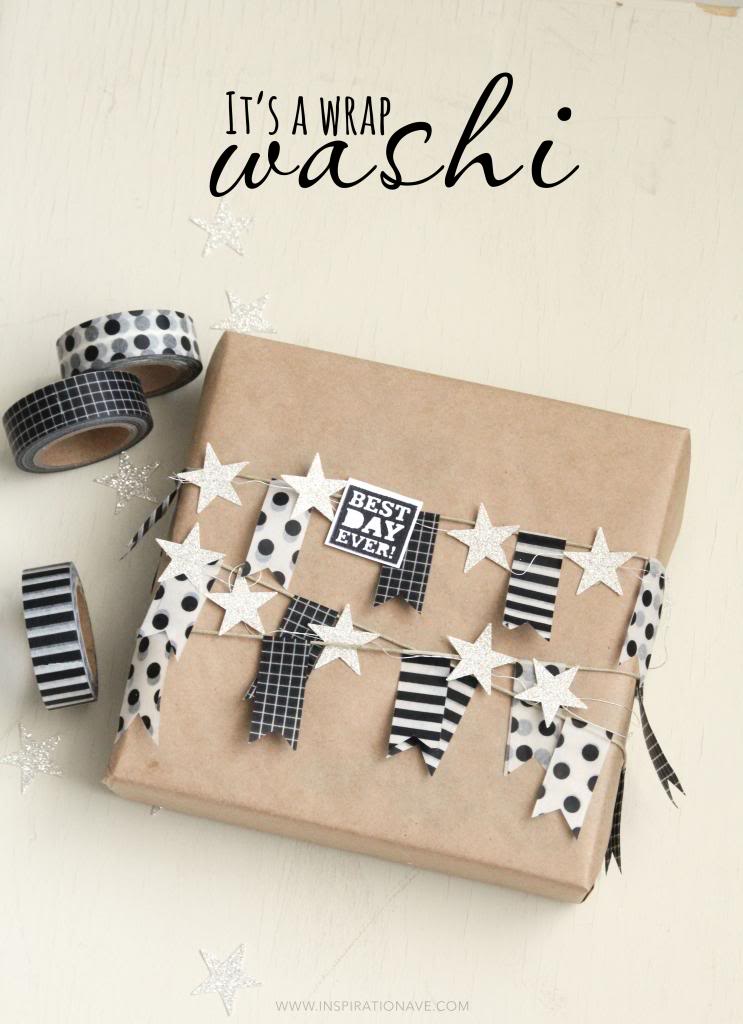
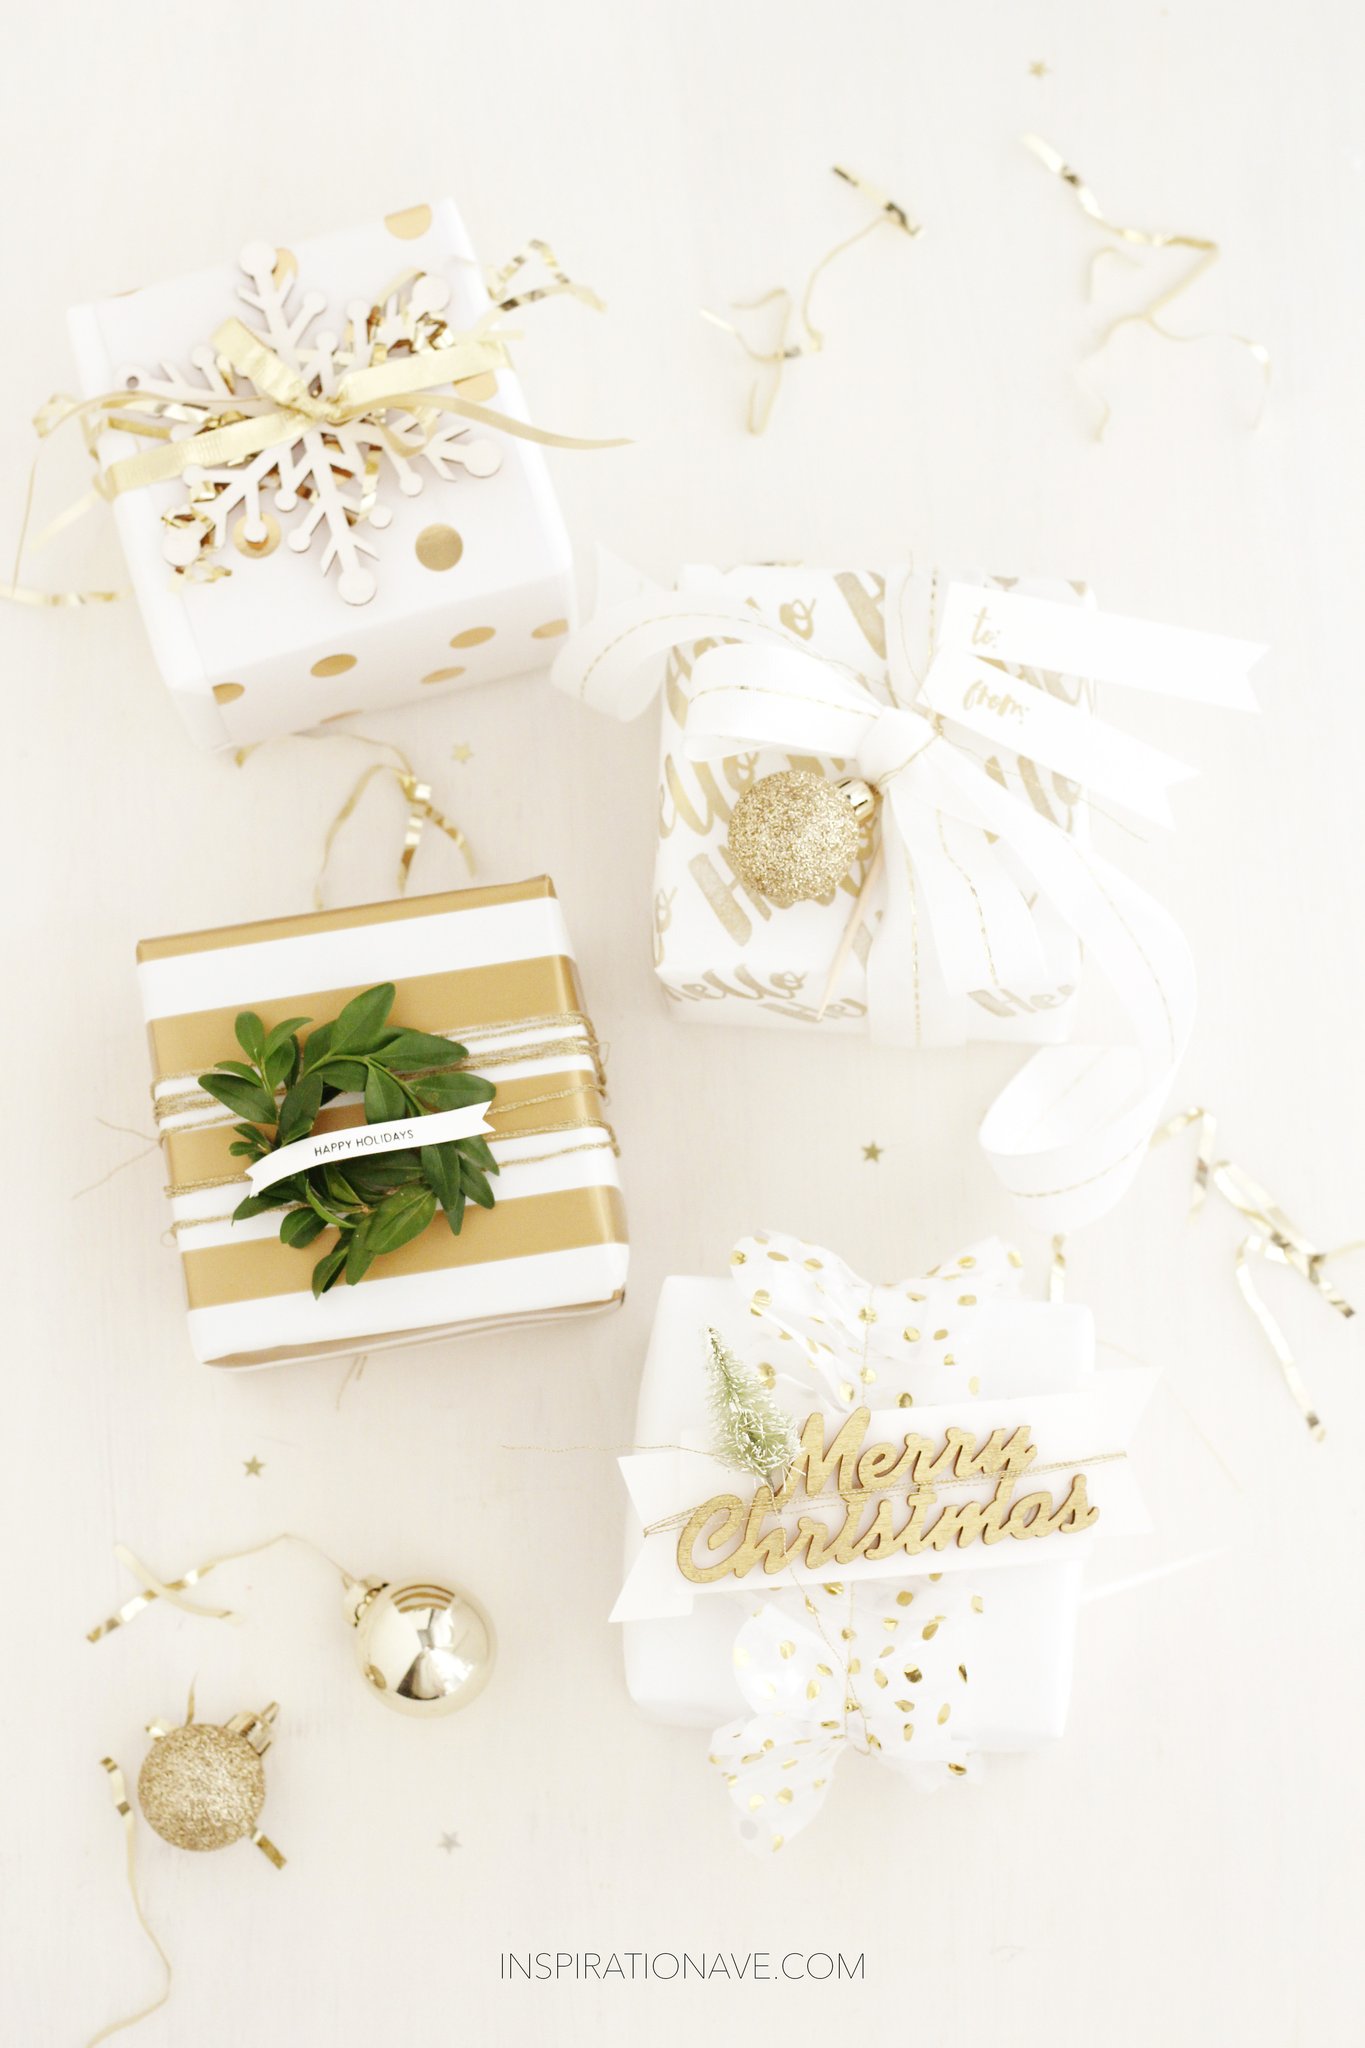
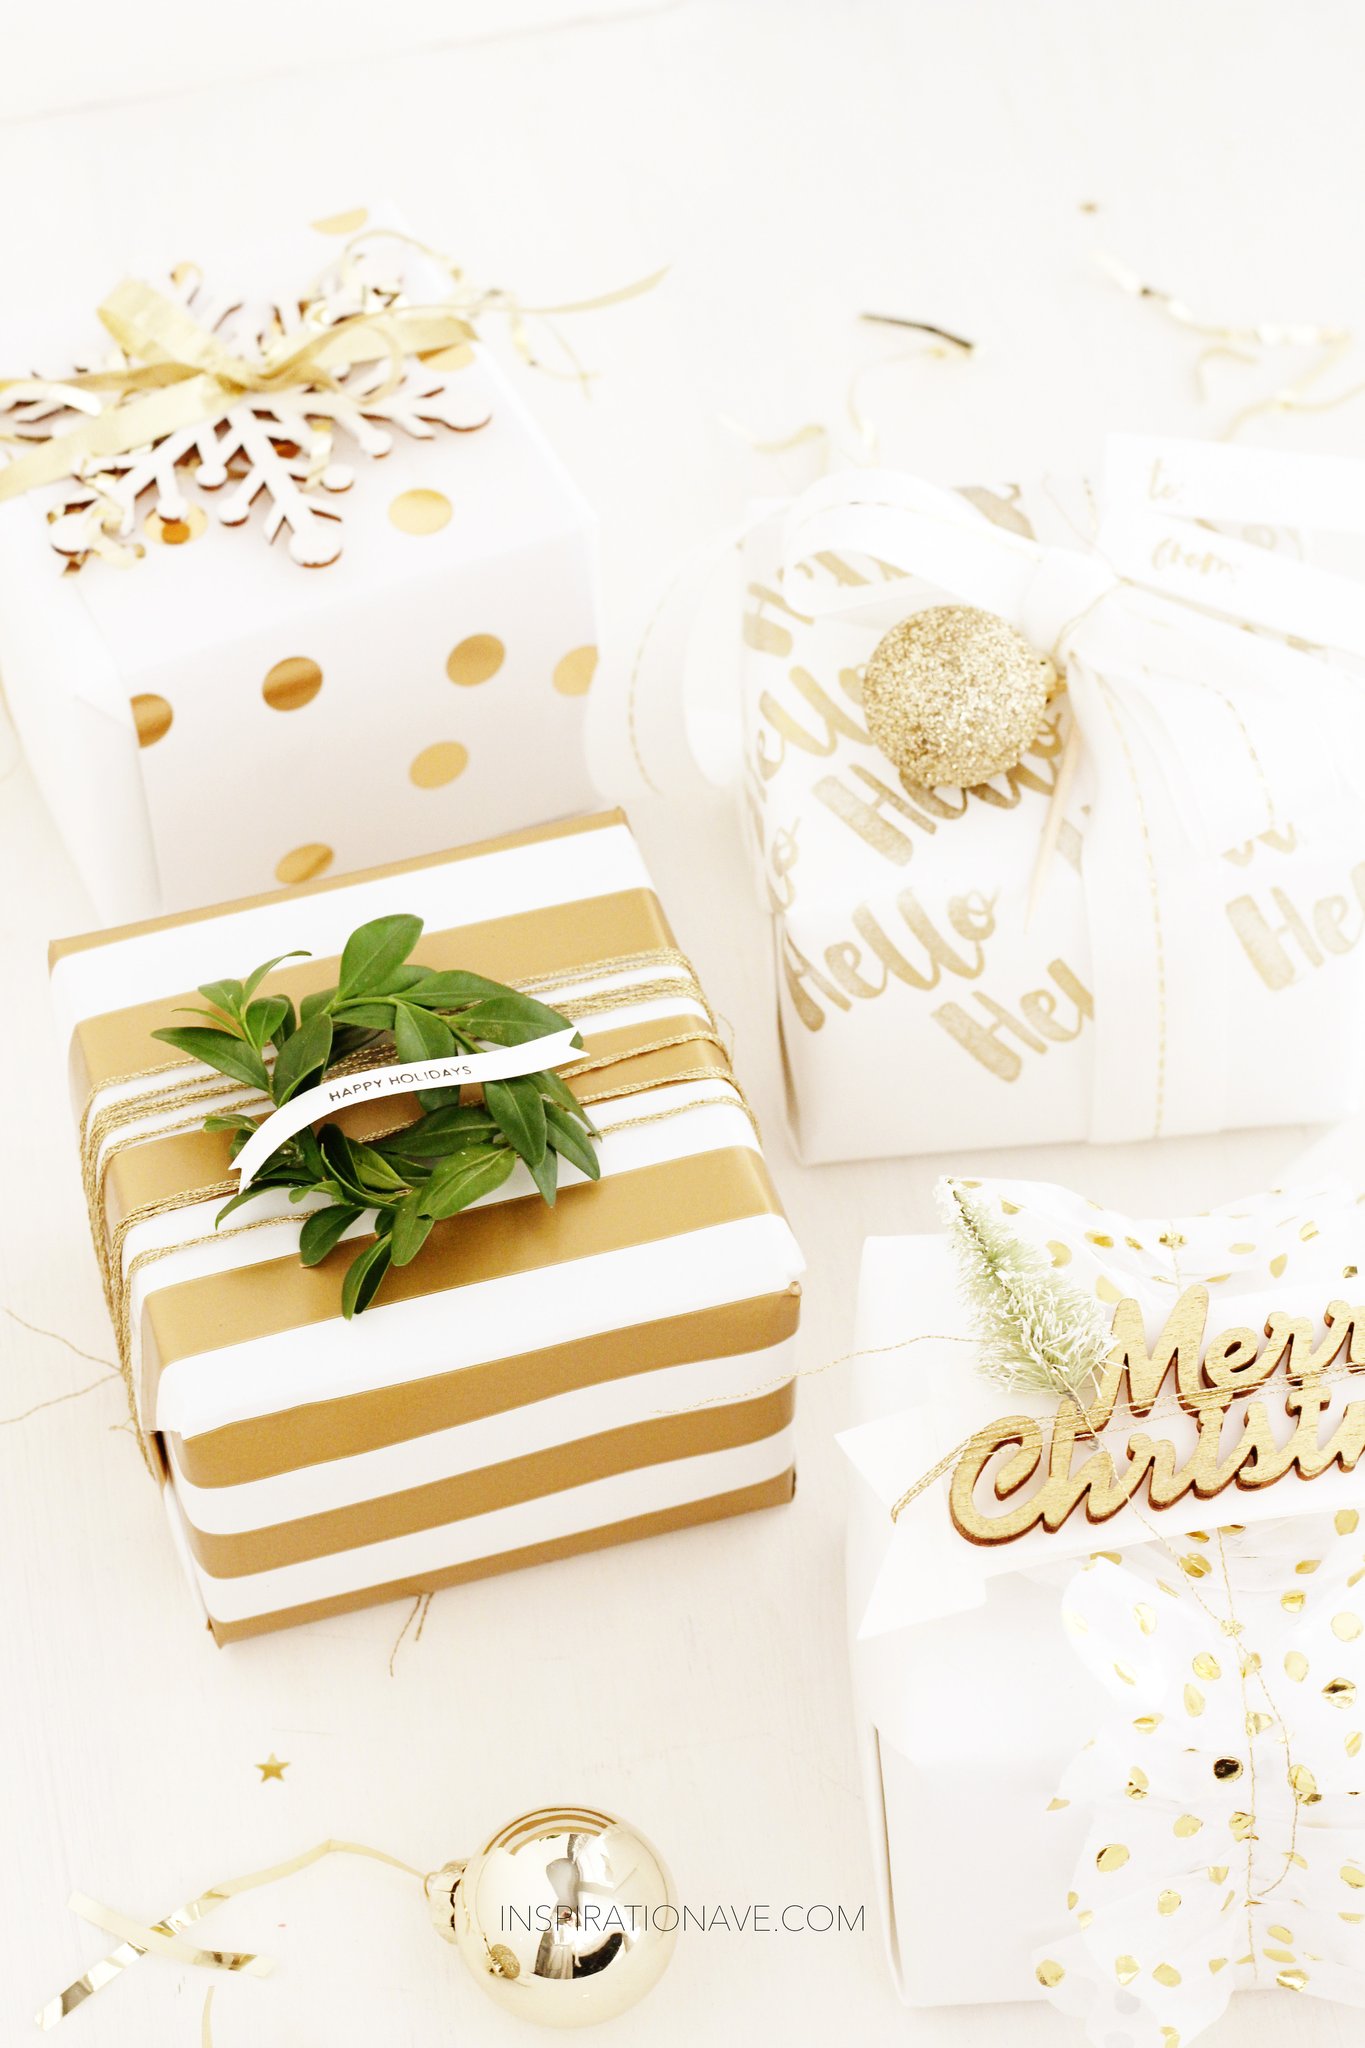
I’m officially kicking off the holidays around here. I thought it would be fun to share with you some gift wrapping ideas to get you in the mood! If you are like me you have a stash of boxes. Sometimes, it’s hard to see past the boring exterior. Well I’m here to help with a few simple ideas using some basic crafting supplies. You might want to swing by your local craft store and grab a few stamps and ink if you don’t own any because this week I’ll be showing you how to put them to good use.


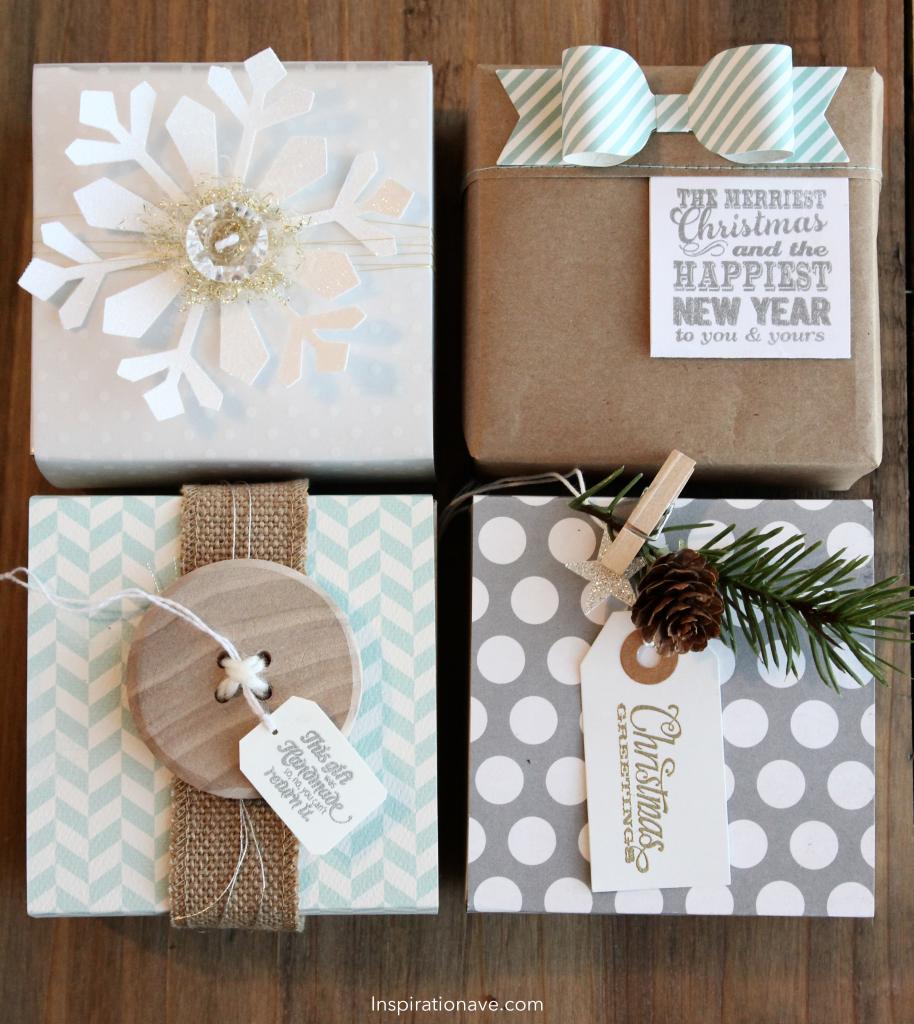
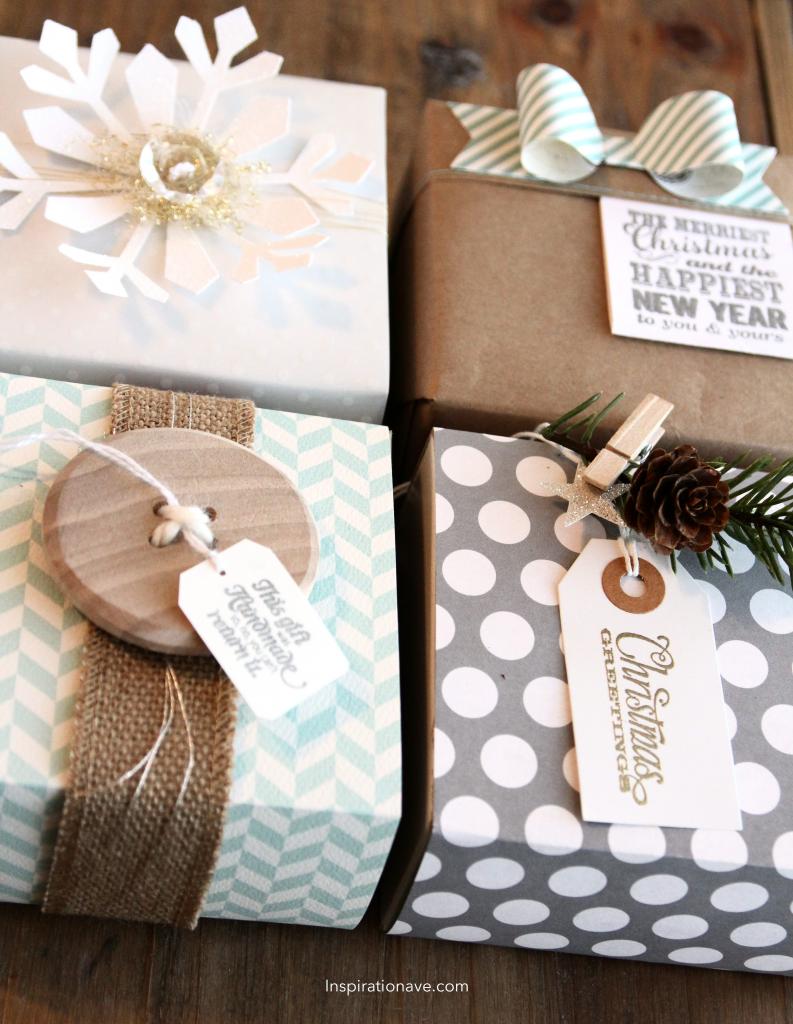
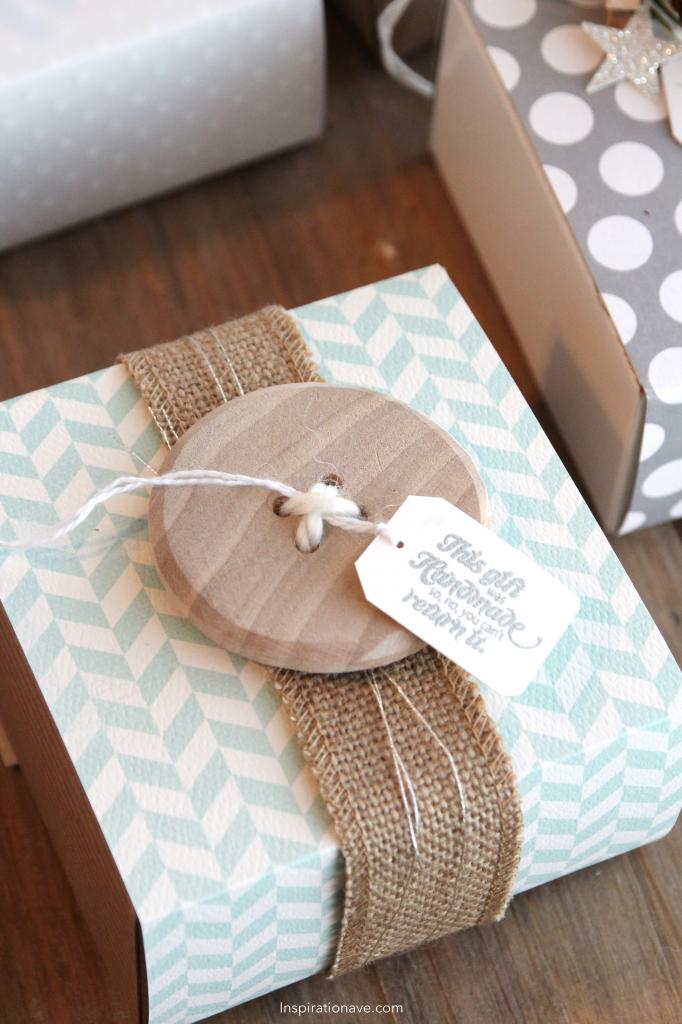
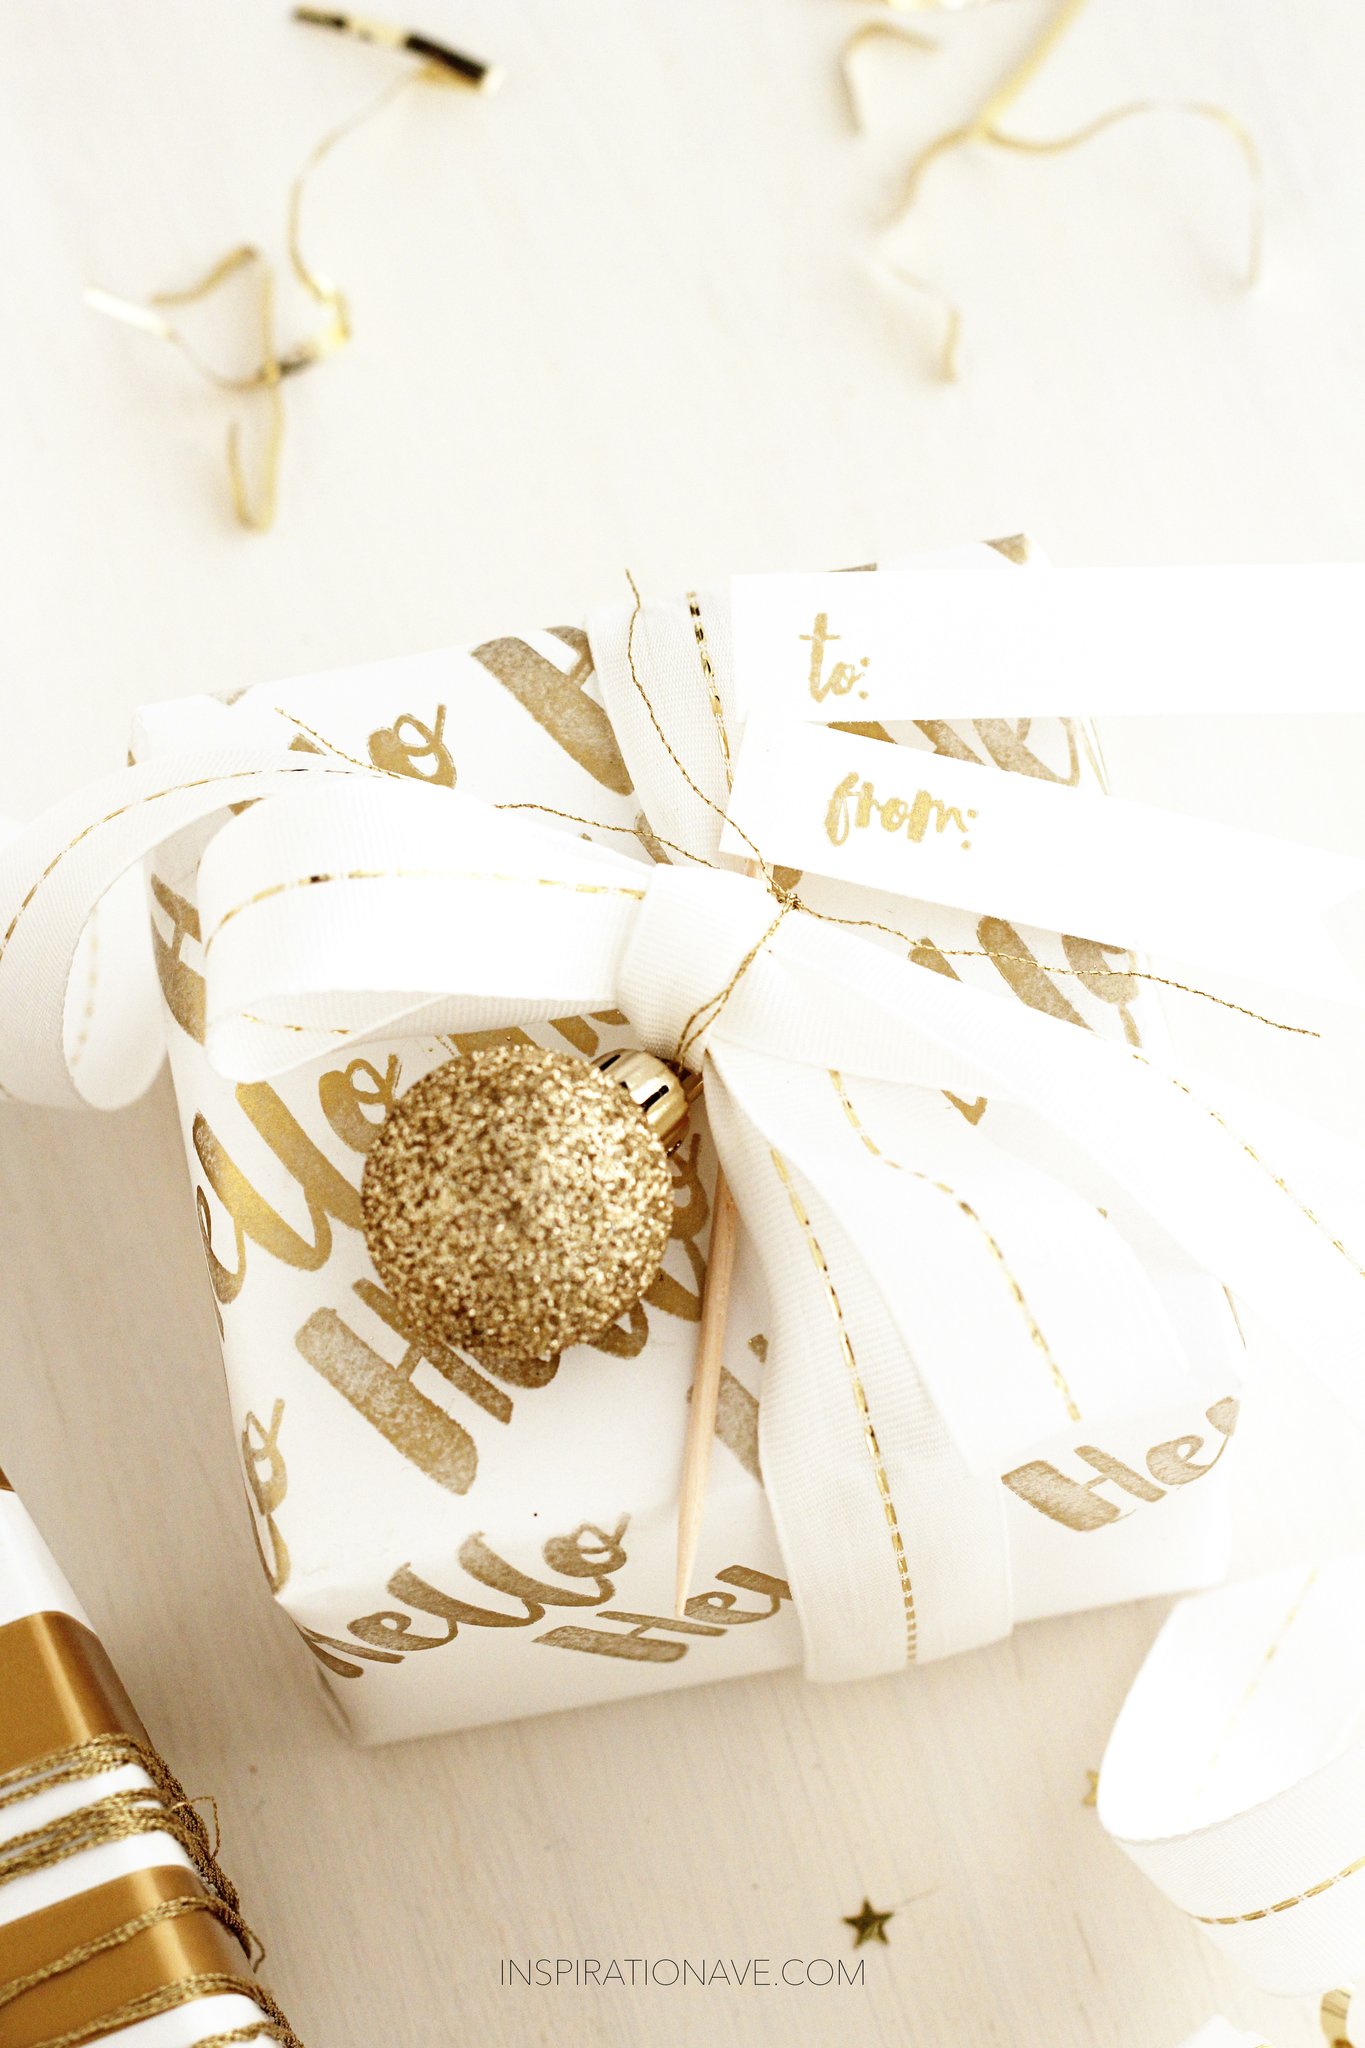
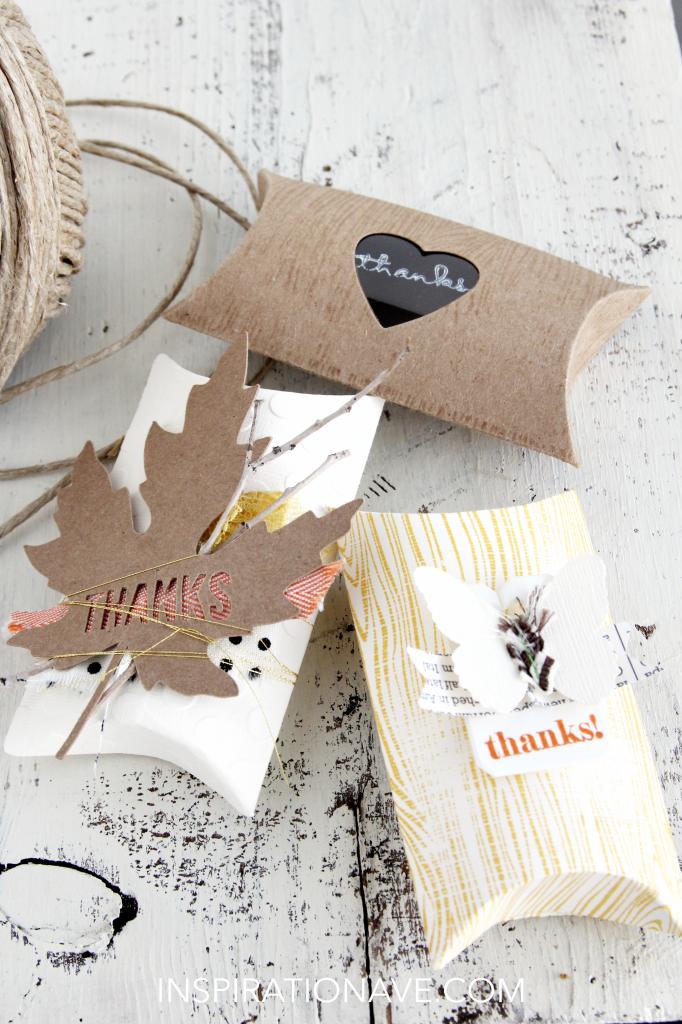
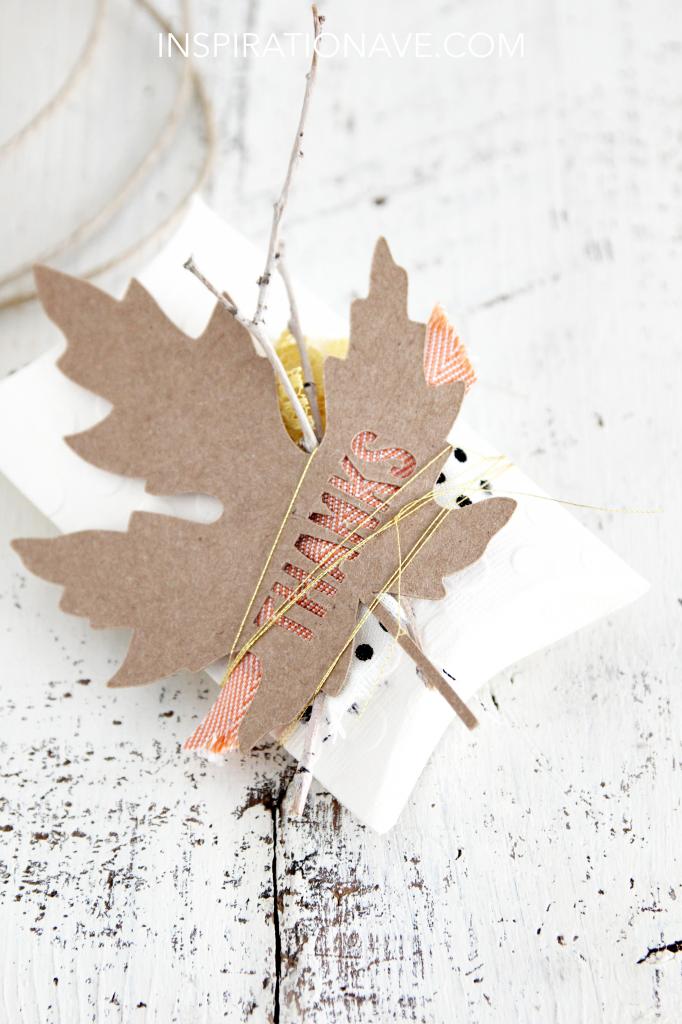
Just cut a strip of cardstock as wide as your box and wrap around and tape on the bottom. Great way to use up your stash. Use strips of burlap or this amazing burlap ribbon by Stampin’up! And last but certainly not least add a big button for a fun element. It’s actually a gift in itself too. (These specific wood buttons will be available in my shop later this week) The adorable greeting for the tag is also found at stampinup.com too. Here’s a little tip- Keep silver and gold sewing thread on hand when you are wrapping your gifts. It is the perfect way to add a little sparkle!

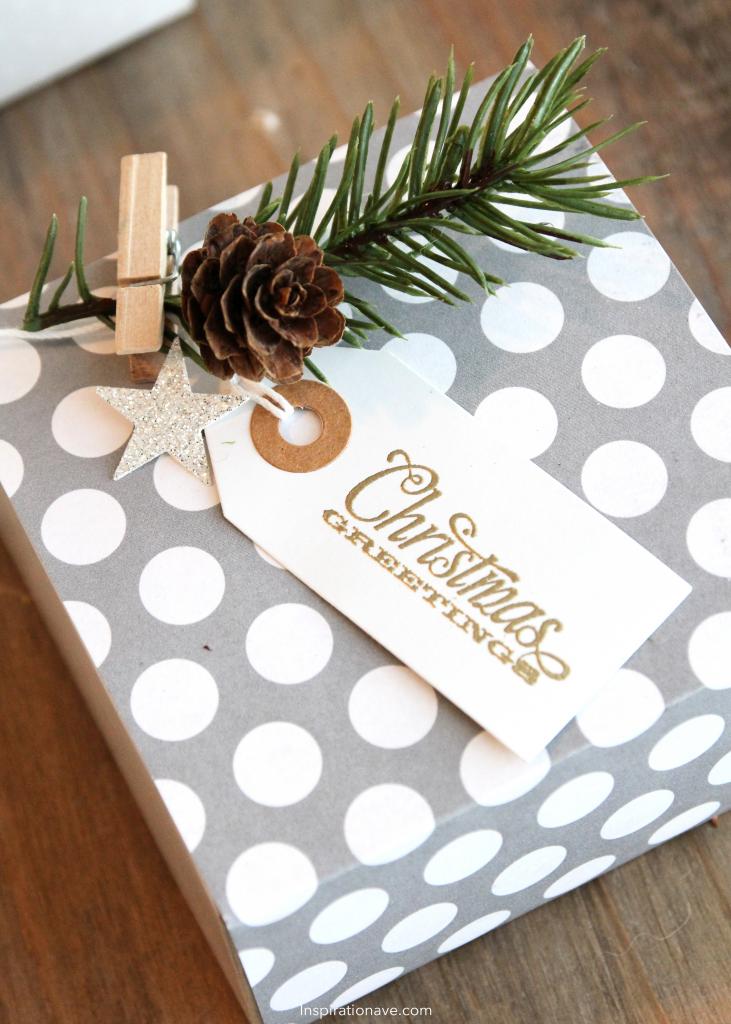
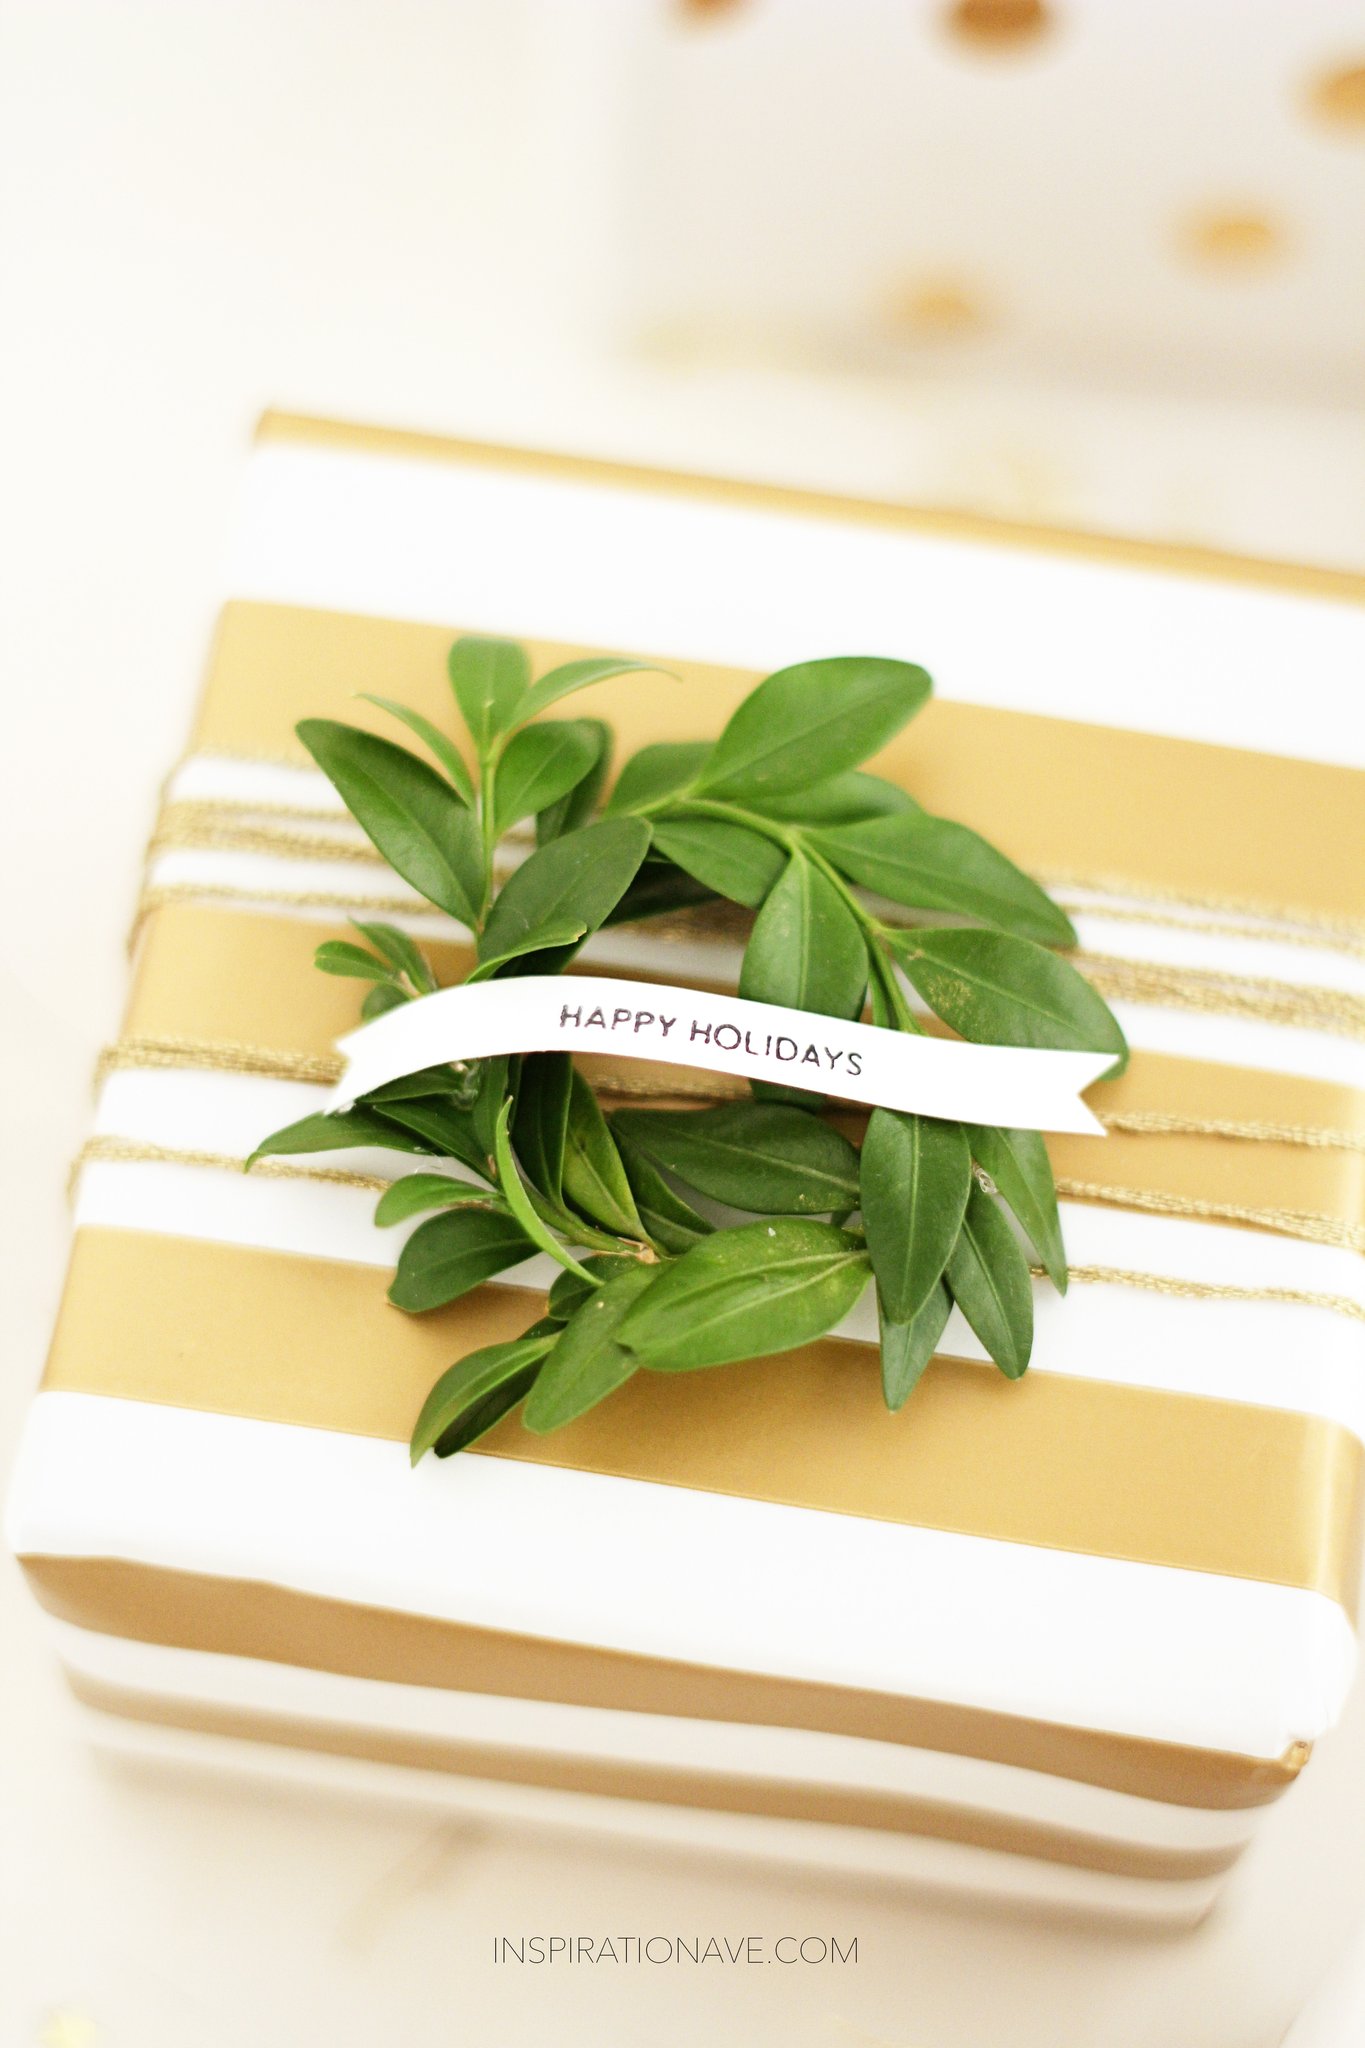
Again I just added a little polka dot patterned paper to my box, cut some greenery from a garland and hung a little tag that I handstamped using a $1 bin stamp from Joann’s. Don’t be afraid to mix a little silver and gold they play very nice together as you can see. Another great tip when you are wrapping is to have plenty of little clothspins of all sizes. They are a super easy way to attach anything to your package.

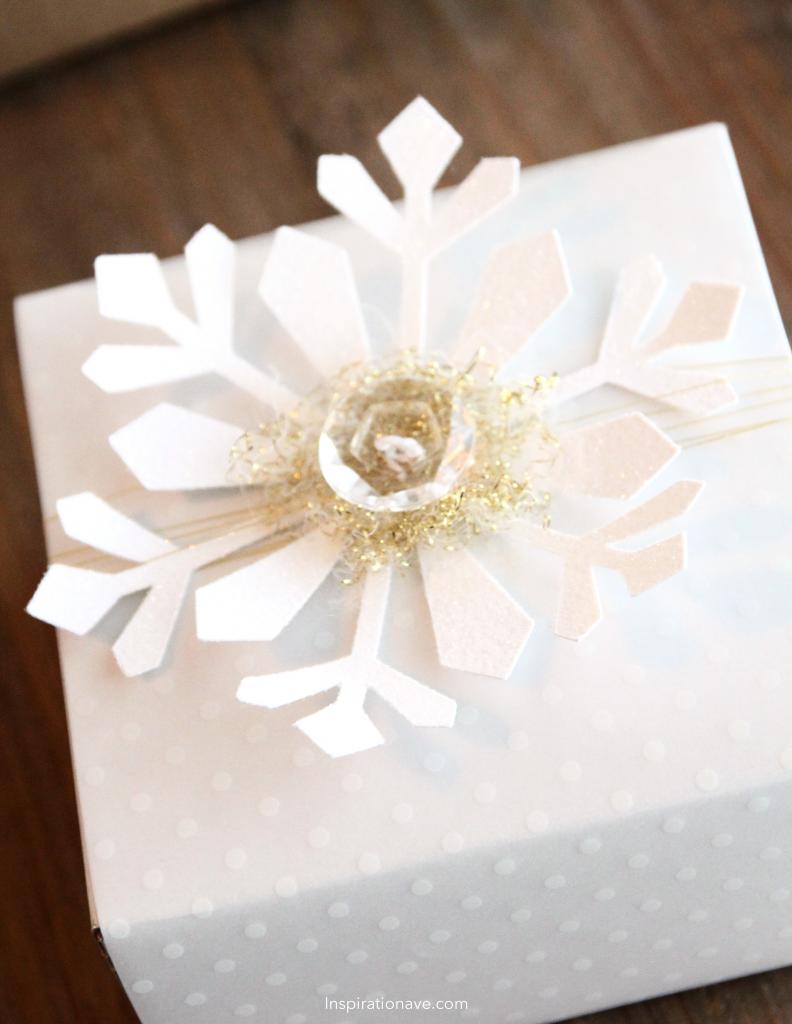
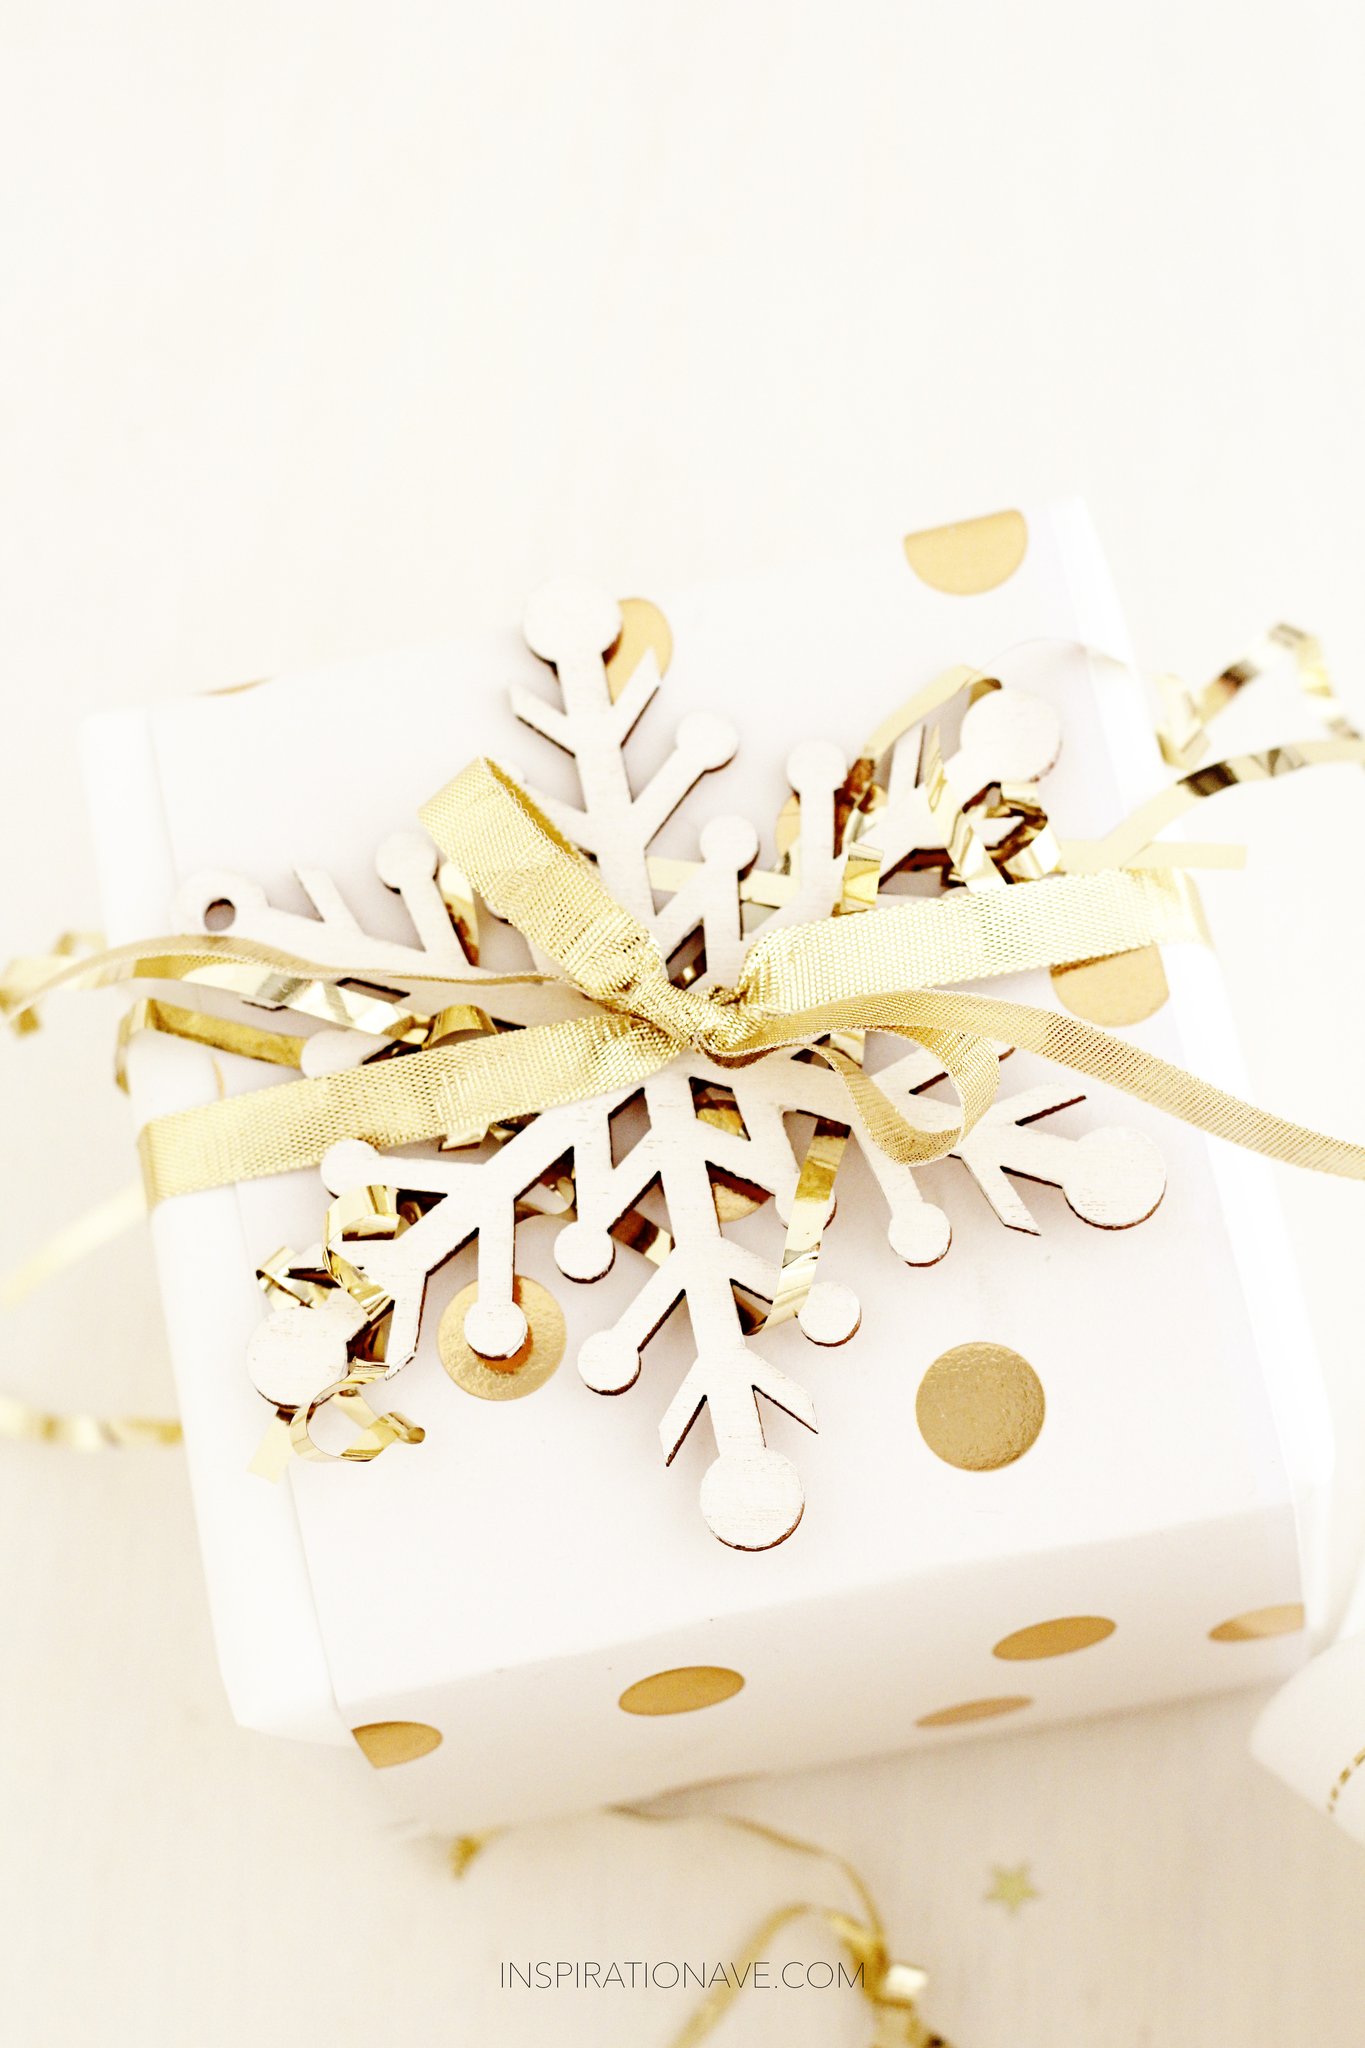
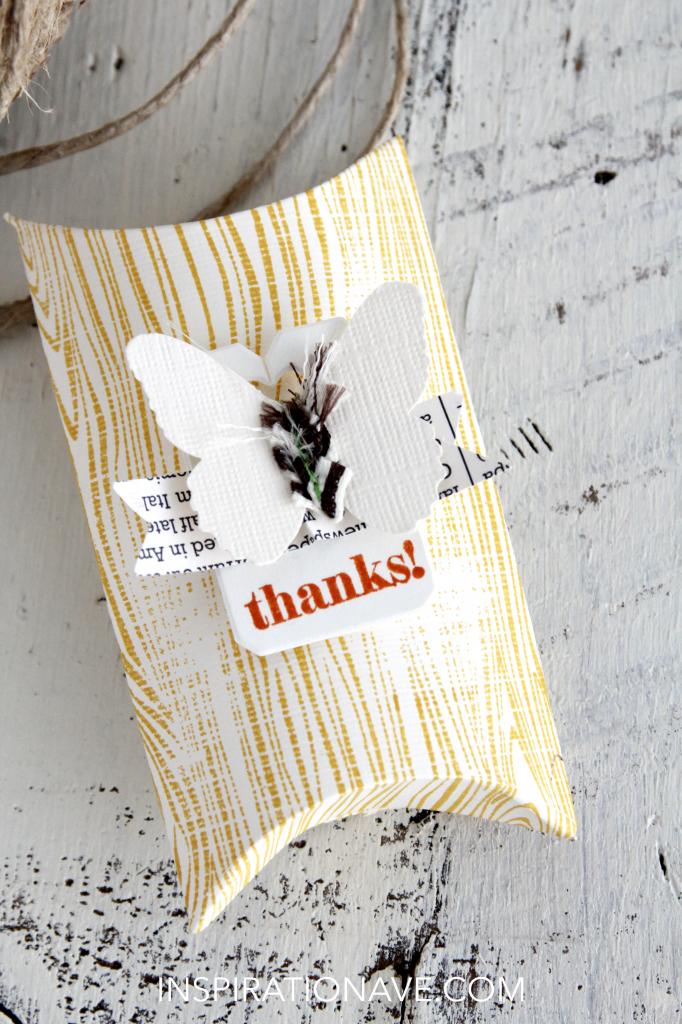
This is a white box and I simply added some polka dot vellum to add a little extra dimension and interest and simply cut a large snowflake from my Silhouette Cameo using a shape from their library. They have so many to choose from – good luck! I’ve added some gold tinsel thread to the center and glued down a pretty little button for the finishing touch. If you don’t have access to a cameo you can handcut some snowflakes, make some from sticks,  use snowflake ornaments. Possibilites are endless.

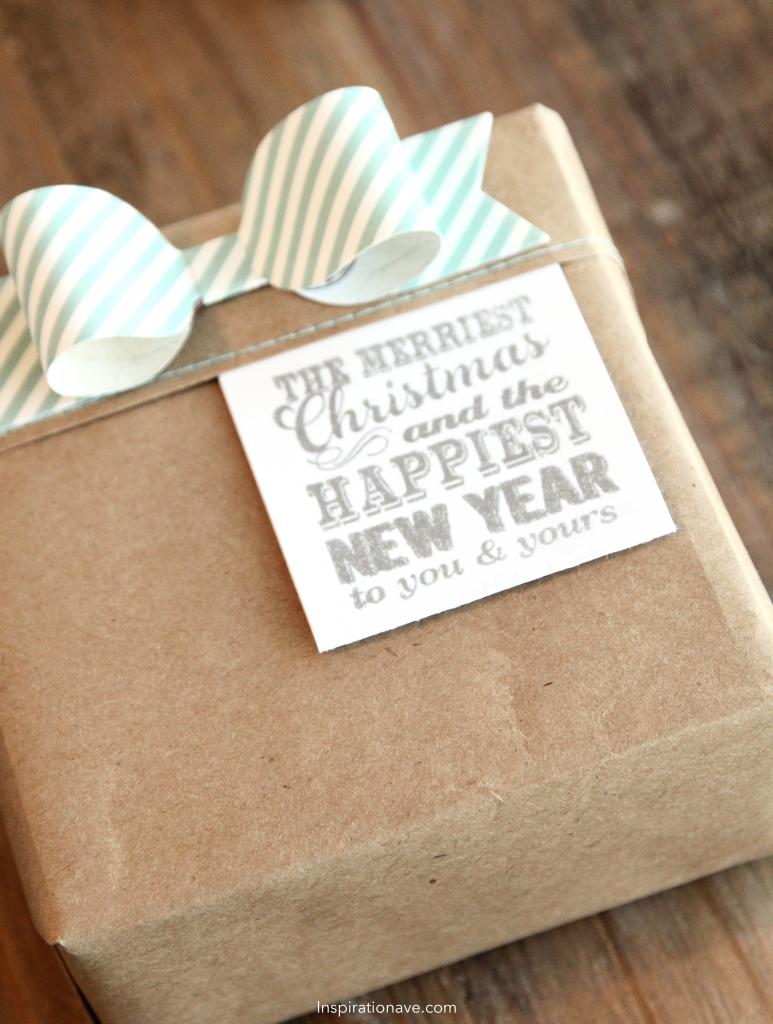
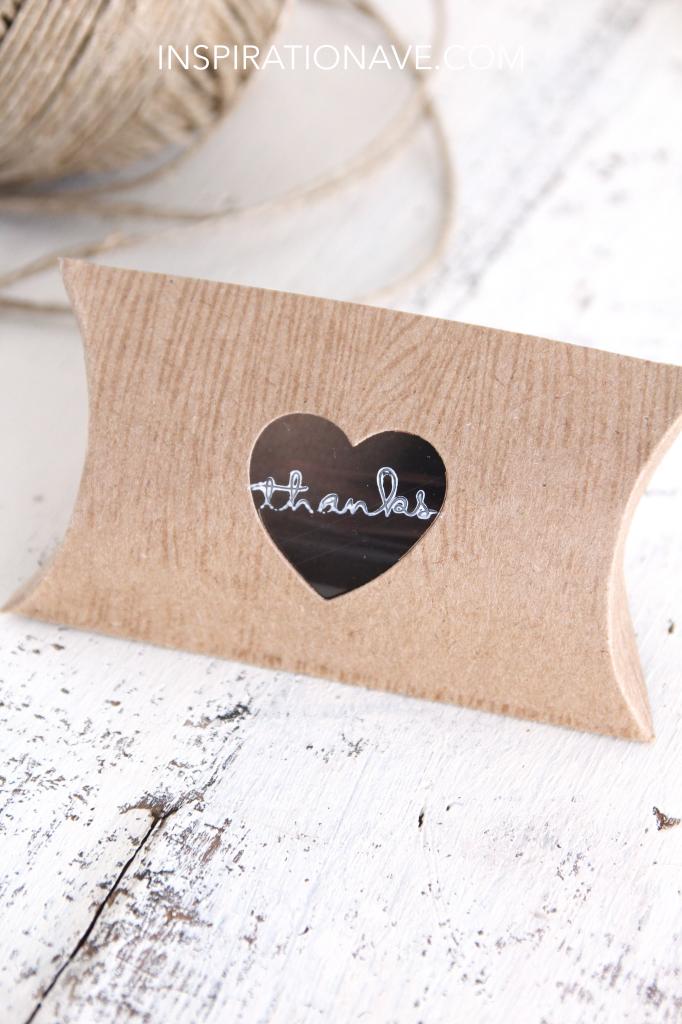
This is a box that was previously used and I thought it would be fun to simple use some kraft wrap and finish off the edge with my sewing machine. But before I did that I stamped a little tag and stitched it right along the edge. So easy! It needed a little something more so I added a little paper bow. This specific one is from mftstamps.com You can find these dies and patterns all over the internet.

I hope you have a few ideas of how you can wrap your gifts for special friends and family. Come back tomorrow for another fun idea! Live Inspired XOXO- Amy


PAPER FLOWER HOW TO

Today I am sharing my love of two things. Paper flowers and this color combination. I think the dreary weather has me wishing for some sign of spring and since I can’t seem to find any looking outside. I thought I would just make my own. These flowers are perfect to add to any gift bag, box  or make a bouqet and give them as the gift. Trust me on this-you will make someones day! Many people have emailed me asking how to make these paper flowers.  I have provided the link from wedding chicks many times but I think sometimes a video might be more helpful. So today I have a little video to show you how easy these really are. 

 This was a super quick video. Far from perfect but I think it will help answer many of the questions I’ve had. So Enjoy!!


NO.49 DIY GLITTER MUG


I love to create and lately I love to create with Glitter. It just seems to make everything a little bit better. Keeping it from getting in my Camera is my biggest challenge…. Today I want to share with you a super quick and easy way to make sipping that hot chocolate a little better. I’m planning to spend my Valentines sipping Nutella Hot Chocolate and watching a good movie.  Make 2. 1 for you and 1 for your man. He won’t mind 🙂 In fact he will quite like it.

Below are the steps. Easy as 1 2 3

Supplies: Double sided sticky paper , Heart punch or hand cut, Martha stewart glitter in yellow gold , white mug from Target.

Have some fun with glitter today. Hope you enjoyed this easy project. XoXo-Amy


THANKS TRIO

Don’t you love Fall? I just absolutely love it! For so many reasons it always seems to be the happiest time of the year. The sweaters are coming out of the boxes to be cleaned. My boots are all nicely stacked in my closet and the smell of spiced apple is filling my house. I’m already thinking of how I’m going to decorate for Thanksgiving dinner and there is no better time of year to stay inside and get some crafting done. Today I’m just sharing a few ways you can say thanks. These are just bitty little pouches – perfect for a gift card , some cash or a small treat.  I’m going to stash a little handwritten letter in them and deliver to some friends. Who says it has to be a typical envelope?!


I’m off to bake some bread , paint some pumpkins and prep for a little crafting party that i’m hosting this weekend. Live Inspired. Amy


NO.42

Today I’m sharing a super fun DIY paper project for your valentines decor. You’ve seen them everywhere. This is just my take using one of the cutest stamp sets ever!!

I am completely smitten by this stamp set above. It’s a must have. Check it out at Stampin’up! It’s called Oh, Hello. It has endless possibilites. If you need some happy mail this is it!! A simple card to say Hello! Are you convinced yet that you have to have this? 

See you tomorrow for a fun giveaway! Live Inspired- Amy
 

No. 65 Washi Packaging

I’m sure many of you can relate to this but I LOVE washi tape!!  It seems to be the first thing I grab for when I’m in a pinch to make a cute card or quick packaging. My Oldest is Graduating on Tuesday and I am trying to put together some fun little packages to make his day Special!  Even my boys like it when I spend time to make their packages fun. I simply made a little washi garland using some of my favorite Freckled Fawn black and white washi’s and wrapped it around my cig maker package. I stitched some silver stars into a garland and layered it for the finsishing touch. Add a stamped greeting and you are good to go. I planned today to share something a bit different but due to some technical difficulties not the computer kind… 🙂 It will have to wait to next week. I’m so glad it’s friday and I hope you have fun plans. I’ll be back next week with plenty of inspiration to start your summer off right.

Happy Weekend- Hugs

Amy 

NO.44 DIY CHALKBOARD WASHI TAPE

After 5 days of no crafting I was having some serious withdrawals. While it is always nice to step away for a bit I found myself dying to try a few new ideas. I love love washi tape and I can’t get enough of the Chalkboard look so I decided to marry the two. They really like each other. Don’t ya think?…

I have always used this amazing tape that you can buy at any art supply store. It is called drafting tape or artist tape. It has alot of the same properties as washi tape. It’s great to use when you don’t want a permanent hold but you want it to be secure. When it comes to the paint- I love Valspar Chalkboard paint available at Lowes. I have tried alot of paints. This is by far my favorite. After trying it on tape and getting the results I wanted I’ve decided it pretty much works on everything!! The process is super simple as you can see below! Try it out tonight. Just think of all the fun you can have…all the possibilities!

Join me back here tomorrow to see what fun little things are in this little package next in line would be the 10 kidkraft dollhouse guide and don’t forget to leave a message so you can be entered to win a copy of Creative spaces 2! Giveaway tomorrow!

Happy Crafting- Amy


DIY Birthday Hello


Hello Friends. Just sharing a little gift idea and card making today. I am obsessed with wood cuts. I love the natural element and versatility they bring to my crafting projects. I hope you will try this idea. I don’t feel like a picture does the cuteness any justice. This project doesn’t take long and the time is worth the results. Adding the miniature garland is the perfect pop of color to bring this plant to life:) 


Supplies used | Wood cuts available in my shop | wood skewers | dk pink, lt pink, peach and gold tissue paper | sewing machine and thread |glue gun | friend greeting from hey hi hello stamp set


Step 1. Glue two wood skewers behind the hello woodcut 


Step 2. Cut 2×3 inch strips of tissue paper in each color. Fold to 1×3 strips and cut open end to create fringe, I used the martha stewart fringe scissor ( a must have in my crafting supplies) Roll each piece up in a coil to create a small fringe pom.


Step 3. These are very tiny but you will then feed them through your sewing machine to create a little banner. 


Step 4. Glue the ends of the banner to the bottom of the hello – where it meets the skewers. 


SStep 5. Stick in your plant and you have a little piece of adorable. 


The card is super easy too. I downloaded the cutfile. Available in my shop. I cut on white American Crafts textured  cardstock. (in my opinion the best cardstock for the silhouette) love it!! I cut a standard card 5 1/2 x 4 1/4 and stitched randomly in 4 different color using the sewing machine to create a colorful background for the happy birthday words. Stiched the diecut piece over the top and you have a unique and handmade card for a deserving friend. I will note that the sewing wasn’t super fast but worth the look for sure! If you haven’t tried this sewing technique before. Don’t be afraid, It’s fun and before you know it you will be sewing on everything you can find. 


Have a lovely day and do something creative. XOXO, Amy  

Live Inspired


The gift giving season is upon us and I’m here today to share a few ideas to help you dress up those packages. I’m obsessed with gold…. I really thought this phase would pass and I’d already be onto something else but I think it’s here to stay a bit. 


Let’s start with my favorite package


Supplies used: white wrapping paper, gold dot tissue paper, gold thread , mini bottle brush tree, wood cut greetings and a banner. (I cut mine from the silhouette) Other than the Silhouette , I found all supplies at my local Target. 


This little package is simple and a little more sophisticated. Gold stripes will do that:) I am quickly becoming obsessed with these itty bitty boxwood wreaths. (I’ll be sharing a quick video how-to on those later this week. They are the perfect addition to these little presents and the “real” texture is such an fun little surprise! Supplies: Gold striped wrapping paper | metallic embroidery thread | American Crafts date stamp for the happy holiday greeting | Fresh Boxwood sprigs for mini wreaths 


Grab a greeting stamp and some gold ink and stamp your own wrapping paper. Top it off with some ribbon and a mini ornament. Simple and quick! Supplies used: white wrapping paper | Encore metallic stamp pad in gold | gold ornaments from target | stamps from inspirationave 


I’m always on the look out for little elements to add to my stash and when I saw these little wooden snowflakes I knew they’d be perfect. Layered on some gold confetti and tied with some ribbon. 


Supplies used: gold polka dot paper unknown | wooden snowflake – target | Gold shred | Gold ribbon from Joanns 


Thanks for stopping by and I hope you leave with a few ideas for your holiday gift wrapping. Hugs to you all. Amy